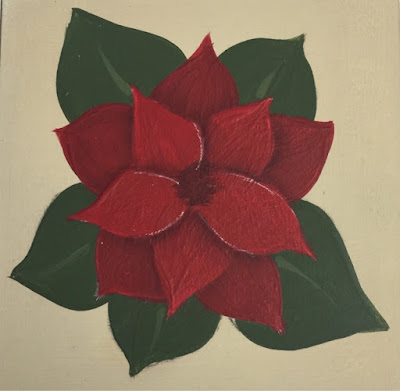
How to paint Poinsettia in 10 easy steps
As soon as Christmas is near, the shops are filled with Poinsettia. With their vivid red petals and deep green leaves, it's no wonder that this flower has become a symbol of the festive season. They are seen by many as a symbol of love and good wishes so what better flower to give this Christmas to loved ones.
So, let's talk about how we can create this beautiful flower using the skills learnt in our Masterclasses.
What you will need:
DecoArt Americana Acrylic in:
Country Red, Avocado, Snow (Titanium) White, Cadmium Orange, Soft or Lamp Black, Yellow Ochre. (If you haven't got any of these, substitute for a simliar colour or if you have the Primary colours, you can mix your own)
Brushes:
No 4 Round Brush (you can use No 3 but may need to paint more comma strokes to fill in the shapes).
No 8 Flat Brush or Angle Brush to float colour.
Dotting Tool
Other supplies:
Transfer and Tracing paper
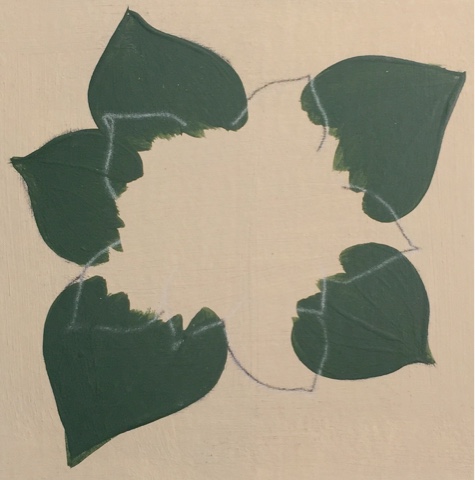
To start with, print the pattern and start by transferring the leaves and petals marked 1 & 2 on the sheet. This will be the first layer we paint.
Step 1: Paint the leaves marked 1 using the Avocado and the round brush using comma strokes. Paint the strokes from the inside to the tip. (Note: use your liner brush for the tip of the leaves if you are struggling to get a fine point).
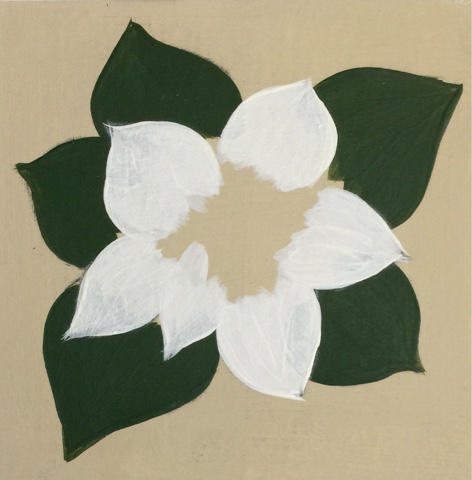
Step 2: Once these are dry, use the white transfer paper to transfer petals marked 2 over the top of your design.
Step 3: To paint the petals, because red is a transparent colour (any colour that does not have white added tends to be transparent) we need to paint the petals white first.
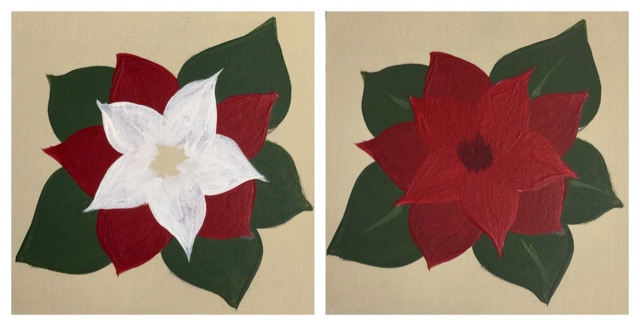
Step 4: Once the white has dried, add a touch of black to the red and paint the petals again. This will help these petals look as though they are behind the next set of petals we are going to paint.
Step 5: Again, once this layer has dried, transfer the petals labelled 3 and repeat these steps with white and just the Country red to help the petals look like they sit in front of the others.
Step 6: To paint the centre, add soft black to the Country red again until it is slightly darker than your first layer of petals. Using the round brush, fill the middle.
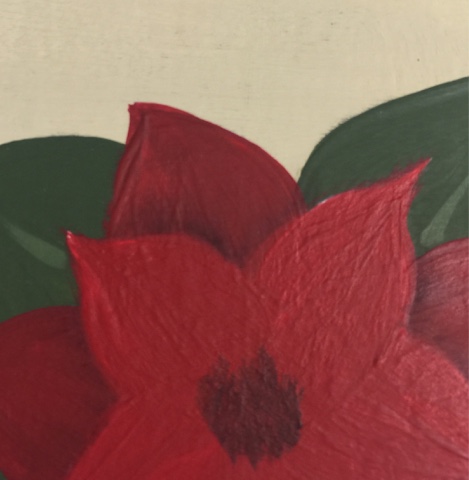
Step 7: We now need to 'shade' any areas that are behind something else in order to create dimension. As this petal is behind one in front, using your Flat or Angle brush, 'float' the black to create the shade. (We teach you how to do this in our Progress not Perfection course).
Here, before I started shading, I've used the transfer paper to re-transfer the lines so I know which petals are in front of the others. You can see where I have floated the black to create the shade.
Step 8: Now, to create more depth, we need to highlight the petals that are at the front. Float a lighter colour (I used DecoArt's Americana Cadmium Orange but you could mix an orange) on the edges of the petals. Float some colour on the very tips of the petals that are behind too.
TIP: One of the most common mistakes to make when creating a highlight using floated colour is to use colours that contain a lot of white. Doing this only works if the colour you are highlighting contains white also.
Step 9: Next, use the large end of the dotting tool and yellow ochre (from our Progress not Perfection course) to dot in some large and small dots in the centre. Once dry place a smaller soft black dot in the centre of the larger dots.
Optional: If you wish to add a little more colour on the highlights side load the round brush with Cadmium orange (as taught in the Vintage Rose lesson in the Intermediate masterclass) and apply it along the edge of the top petals.

Step 10: To finish the card, use a toothbrush & the black to splatter the finished design before adding to the greeting card.
Once you've practiced your poinsettia, try painting it into a mount board square. If you are pleased with the result, you can add it to a greetings card, attach it to a gift bag or note book or use it as a gift tag and you have a little something that will mean just a little more than something you bought from the shop.
Happy Painting,
Carol x

